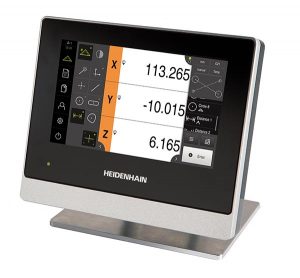
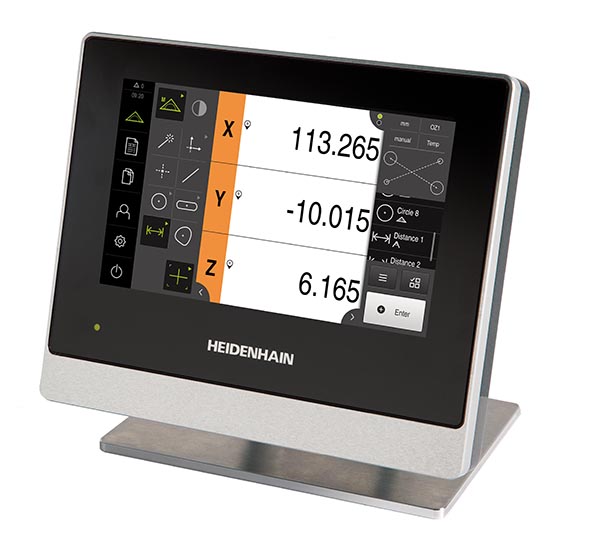
If the manual inspection of 2D components on a measuring machine, optical profile projector or measuring microscope is too time consuming or not sufficiently precise, the newly developed Quadra-Chek 2000 from Heidenhain can solve the problem.

Equipped with embedded evaluation software and a high-resolution, 7”, hardened colour touch screen, the unit has a built-in power supply, rugged aluminium housing and fan-less cooling. Heidenhain says these factors make it suitable for applications on the shop floor as well as in the inspection room.
Point acquisition using X and Y hand wheels, and perhaps also stage rotation, is simple using crosshairs or via a connected optical edge detector. The latter enables a high level of repeatability and reduces measurement uncertainty by eliminating subjective error. Predefined geometry tools record the co-ordinates of 2D features such as points, lines, circles, slots and squares, and measure the distances and angles between them. A ‘Measure Magic’ function simplifies inspection further by using the acquired points to recognise, select and fit the geometry automatically.
When dealing with complex contours and repetitive inspection, a user can automatically record the measuring routine and run it at any time. Quadra-Chek 2000 keeps track of the presets, sequence of measurements, tolerances and data output commands. When the recorded program is executed again, the unit displays on-screen user guidance detailing all of the features to be measured.
The menu-driven software is context-sensitive, showing only those functions that are available in the current measuring situation. Results are captured and displayed graphically.
For further information www.heidenhain.com


